Automate Excel with Private Sub Worksheet_Change Event
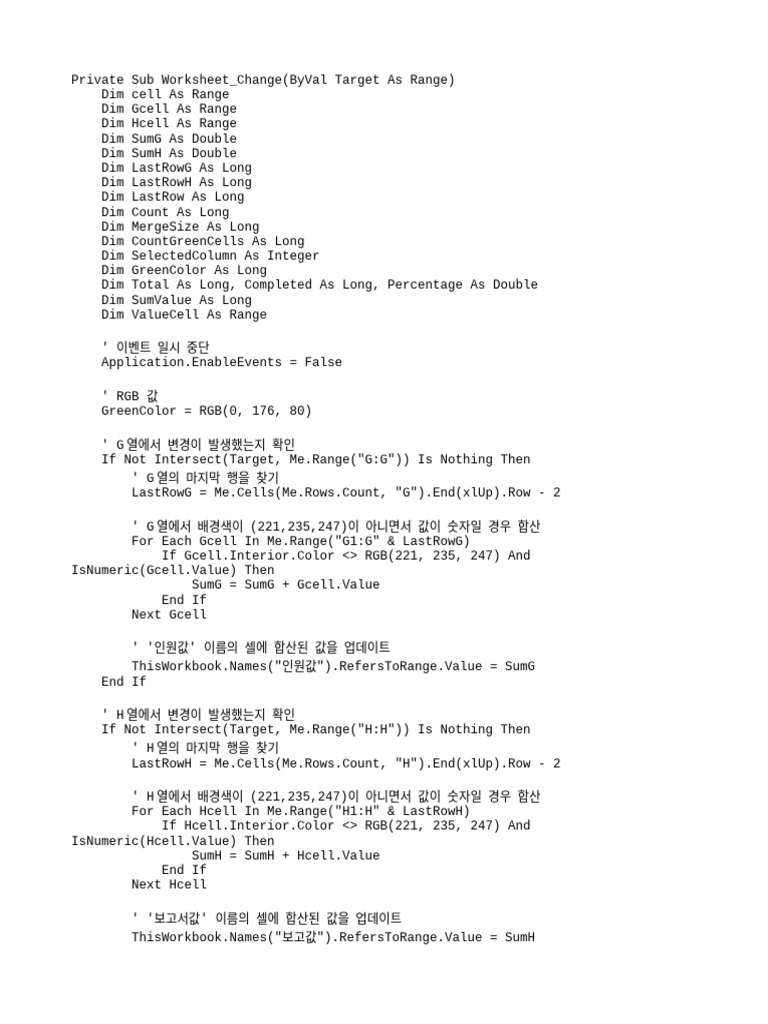
When working with Excel, automating tasks can significantly enhance productivity and reduce manual errors. One powerful tool in Excel VBA is the Worksheet_Change event, which allows you to execute specific actions whenever a change occurs on a worksheet. This event is triggered by changes in cell values, formatting, or even when a user inserts or deletes rows and columns.
In this article, we’ll explore how to automate Excel tasks using the Private Sub Worksheet_Change event. We’ll go through the basics of the event, its syntax, and practical examples to get you started with automating your Excel workflows.
Understanding the Worksheet_Change Event
The Worksheet_Change event is a subroutine in Excel VBA that runs automatically whenever a cell or range of cells on a worksheet changes. This event is triggered by a variety of actions, including:
- Value Changes: When a user edits the value in a cell.
- Formatting Changes: When formatting such as font, color, or alignment is changed.
- Insertions/Deletions: When rows or columns are inserted or deleted.
Enabling the Worksheet_Change Event
To work with the Worksheet_Change event, you need to open the Visual Basic for Applications (VBA) editor in Excel. Here’s how to do it:
- Open your Excel workbook.
- Press
Alt+F11to open the VBA Editor. - In the Project Explorer, find your workbook and the specific worksheet you want to automate.
- Double-click on the worksheet object to open its code module.
Syntax of Worksheet_Change Event
The basic syntax of the Worksheet_Change event is as follows:
Private Sub Worksheet_Change(ByVal Target As Range)
    ' Your code here
End Sub
Private Sub Worksheet_Change: This declares the subroutine as private, meaning it can only be accessed within the module where it’s defined.Worksheet_Changeis the event that triggers the subroutine.ByVal Target As Range: This parameter represents the range of cells that have changed.ByValmeans the argument is passed by value, not by reference.
Practical Examples
Let’s dive into some practical examples of automating tasks with the Worksheet_Change event.
Example 1: Automatically Formatting Changed Cells
Suppose you want to automatically format any changed cells in a specific range to bold and blue font.
Private Sub Worksheet_Change(ByVal Target As Range)
    If Not Intersect(Target, Range("A1:E10")) Is Nothing Then
        Target.Font.Bold = True
        Target.Font.Color = vbBlue
    End If
End Sub
In this example, if any cells within the range A1:E10 change, they will be formatted to bold and blue font.
Example 2: Preventing Changes in a Specific Range
You might need to prevent users from making changes to certain cells. Here’s an example of how to achieve this:
Private Sub Worksheet_Change(ByVal Target As Range)
    If Not Intersect(Target, Range("A1:A10")) Is Nothing Then
        MsgBox "You are not allowed to change values in this range."
        Application.EnableEvents = False
        Application.Undo
        Application.EnableEvents = True
    End If
End Sub
This script checks if the changed range intersects with A1:A10. If it does, it displays a message and then undoes the change.
Example 3: Updating a Timestamp
Here’s an example of how to update a timestamp in a cell whenever a specific range of cells changes:
Private Sub Worksheet_Change(ByVal Target As Range)
    If Not Intersect(Target, Range("B1:B10")) Is Nothing Then
        Range("A1").Value = Now()
    End If
End Sub
This code updates the value in cell A1 with the current time whenever any cell in the range B1:B10 changes.
Important Notes
- Application.EnableEvents: This property is crucial when working with the
Worksheet_Changeevent. Setting it toFalsetemporarily disables events, preventing infinite loops when your code makes changes to the worksheet. - Target: Always check the
Targetrange to ensure your code responds appropriately to changes. This helps prevent unnecessary execution of your code. - Performance: Complex code within the
Worksheet_Changeevent can impact worksheet performance. Keep your code as efficient as possible.
Conclusion
The Worksheet_Change event is a powerful tool in Excel VBA that allows you to automate a wide range of tasks based on changes to a worksheet. By mastering this event, you can streamline your workflows, enhance data integrity, and save time. Remember to carefully plan and test your code to ensure it meets your specific needs.
FAQ Section
What triggers the Worksheet_Change event?
+The Worksheet_Change event is triggered by changes in cell values, formatting, or when a user inserts or deletes rows and columns.
How do I prevent infinite loops with the Worksheet_Change event?
+You can prevent infinite loops by setting Application.EnableEvents to False before making changes to the worksheet within the event code.
Can I use the Worksheet_Change event to format cells automatically?
+Yes, you can use the Worksheet_Change event to apply formatting to cells that have changed. This can include changing font, color, alignment, and more.
Related Terms:
- Vba Worksheet_Change not triggered
- VBA select sheet by name
